How to make a classic Black Velvet Cake recipe at home step-by-step?
There’s something surprisingly comforting about baking a cake that looks dramatic but feels familiar. When you slice into a Black Velvet Cake, you’re met with a soft, moist, velvet-like crumb that seems to melt the moment it touches your fork. It’s the kind of dessert you reach for when you want to create a moment — not just a flavor.
Maybe you’re planning a celebration. Maybe you’re craving something cozy and indulgent. Or maybe you just want to try something that feels a bit magical. Whatever brings you here, this guide walks you through everything you need to craft your own homemade Black Velvet masterpiece, step by step, without feeling overwhelmed. By the end, you’ll have a cake that looks impressive enough for any special occasion and tastes even better than it looks.
Table of Contents
What Is Black Velvet Cake? Understanding This Elegant Dessert
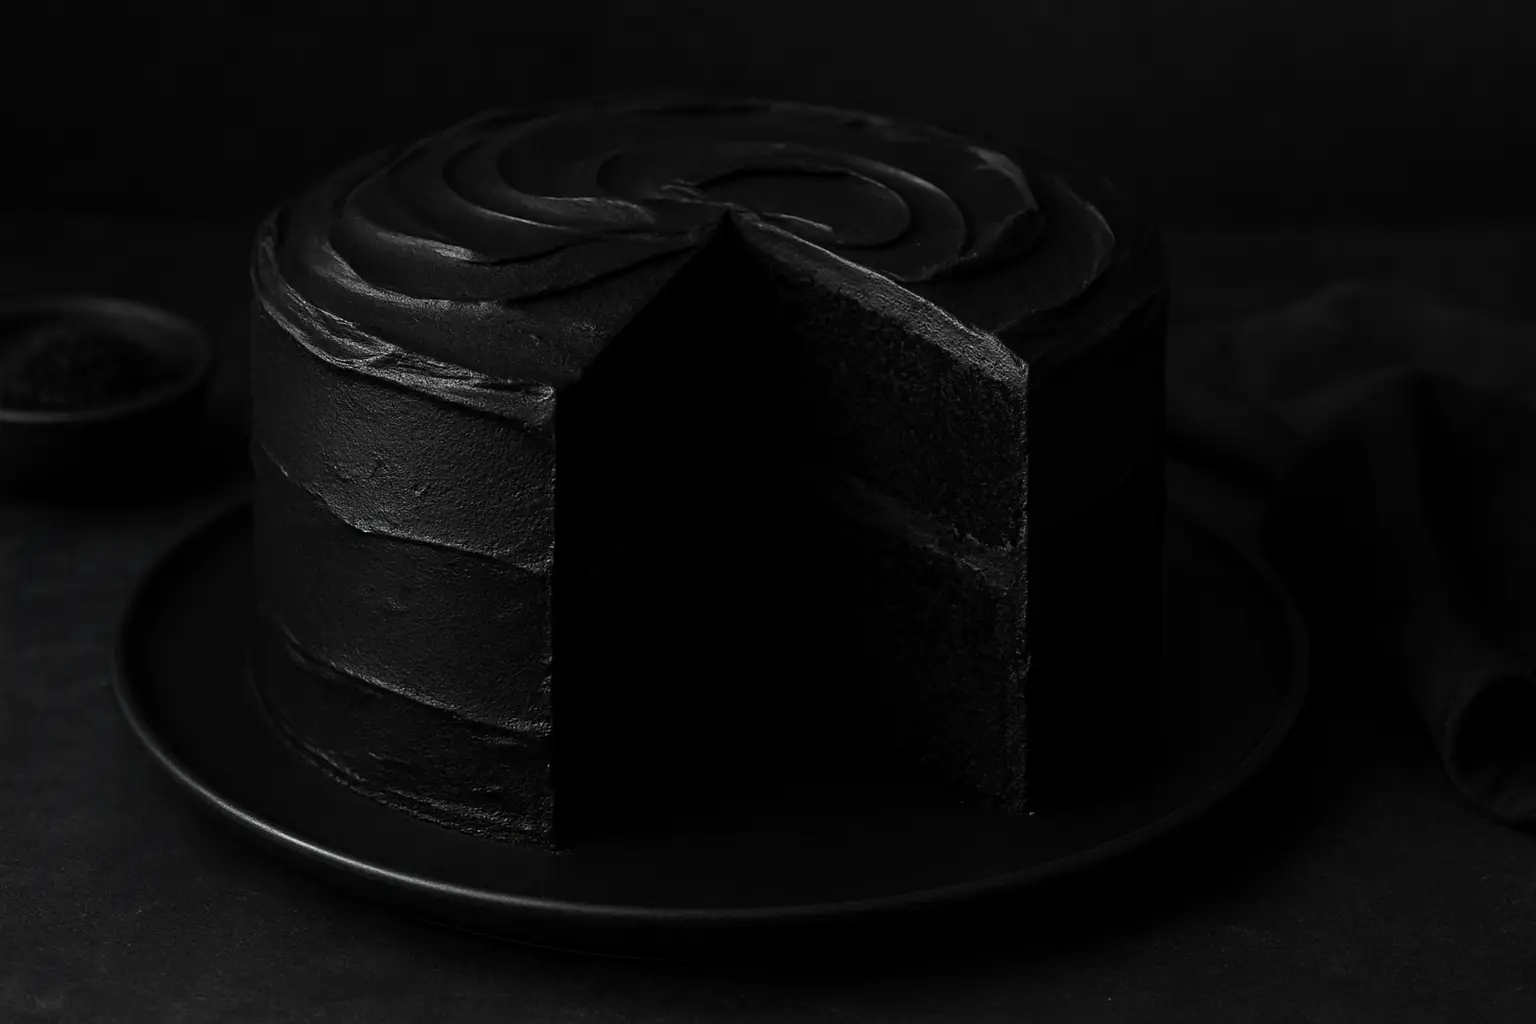
You’ve probably heard of red velvet cake — the beloved classic with a crimson crumb and subtle cocoa flavor. Black Velvet Cake is its moody, sophisticated sibling. It has the same tender texture and slight tang, but with a deeper, richer cocoa base and a stunning dark color.
Instead of the bright red hue, this cake relies on black cocoa or a blend of regular cocoa and black food coloring. Black cocoa gives it a bold color along with a smoother, Oreo-like flavor. The texture remains unmistakably velvet: soft, plush, and almost cloud-like.
What makes a velvet cake distinct is the combination of alkaline cocoa, buttermilk, and a touch of vinegar, which work together to create a fine crumb that’s both fluffy and moist. That’s why every slice feels like it was made by a professional bakery — even though you’re making it right in your kitchen.
Ingredients You Need for a Classic Black Velvet Cake
Before you start mixing anything, take a moment to gather your ingredients. Velvet cakes come out best when you measure everything accurately and keep your wet and dry components organized.
Dry Ingredients
| Dry Ingredients | Amount |
|---|---|
| All-purpose flour | 2 cups |
| Black cocoa powder (or dark cocoa) | ½ cup |
| Baking soda | 1 tsp |
| Baking powder | 1 tsp |
| Salt | ½ tsp |
Wet Ingredients
| Wet Ingredients | Amount |
|---|---|
| Sugar | 1 ½ cups |
| Eggs | 2 large |
| Buttermilk | 1 cup |
| Oil | ½ cup |
| Vanilla extract | 2 tsp |
| Vinegar | 1 tsp |
| Black gel food coloring | As needed |
Why these ingredients matter:
- Black cocoa deepens both color and flavor.
- Buttermilk gives the tender texture velvet cakes are known for.
- Oil creates lasting moisture and softness.
- Vinegar reacts with the cocoa and baking soda to boost fluffiness.
Using room-temperature ingredients will give you the smoothest batter and the most even bake.
Step-by-Step Instructions: How to Make Black Velvet Cake at Home
Step 1 — Prepare Your Baking Tools
Before you dive in, preheat your oven to 350°F (175°C).
Line your cake pans with parchment paper and lightly grease the sides. This ensures clean, even layers that release easily without tearing.
Gather your essential tools:
- Mixing bowls
- Whisk
- Rubber spatula
- Electric mixer (optional)
- Measuring cups and spoons
A little prep now saves you time and stress later.
Step 2 — Mix the Dry Ingredients
In a large bowl, sift together your flour, cocoa powder, baking soda, baking powder, and salt.
Sifting is more than a formality—it helps aerate the mixture, breaks up cocoa clumps, and contributes to the cake’s light, velvet-like texture.
Step 3 — Combine the Wet Ingredients
In a separate bowl, whisk your sugar, eggs, and oil until the mixture looks smooth and slightly thickened.
Add the buttermilk and vanilla extract, stirring until everything blends into a silky mixture.
Now comes the color. Start with a small amount of black gel coloring and adjust as needed. You’re aiming for a deep, dark shade—something close to charcoal or midnight black.
Step 4 — Combine the Wet and Dry Mixtures
Pour the dry ingredients into the wet mixture gradually.
Use a spatula to fold the batter gently, taking your time to avoid overmixing. Overmixing introduces too much air and toughens the cake, so stop as soon as everything looks incorporated.
Once it’s smooth, add the vinegar. It reacts immediately with the baking soda in your dry ingredients to help your cake rise beautifully in the oven.
Step 5 — Bake the Cake Layers
Divide the batter evenly between your pans. A kitchen scale helps you achieve perfectly even layers, but eyeballing works too.
Slide the pans into the oven and bake for 25–30 minutes, or until a toothpick comes out clean with a few moist crumbs.
Avoid opening the oven too often — velvet cakes are sensitive to temperature changes.
Step 6 — Cool Your Cake and Prepare the Frosting
Let your layers cool in the pan for 10 minutes before transferring them to a wire rack.
While the cake cools, prepare your frosting. Black Velvet Cake pairs well with a variety of frostings:
Frosting Ideas
- Cream cheese frosting
- Vanilla bean buttercream
- Chocolate mascarpone frosting
Choose the option that matches the flavor profile you love most. Cream cheese keeps things classic, while chocolate adds depth that complements the dark cocoa beautifully.
Frosting Your Black Velvet Cake Like a Professional
Once your cake layers are completely cool, it’s time to assemble. Start with a crumb coat, a thin layer of frosting that locks in loose crumbs. After applying it, chill the cake for 20–30 minutes to let it firm up.
Then add your final frosting layer, smoothing it with a spatula or cake scraper.
You can keep the design simple and elegant or go bold with textured swirls or chocolate decorations.
A few ideas:
- Dust the top with cocoa powder
- Add chocolate curls
- Decorate with black sprinkles for contrast
Expert Tips to Perfect Your Homemade Black Velvet Cake
Even if you’re new to baking, these tips will help you get bakery-level results:
- Use black cocoa for the deepest color and smooth flavor.
- Don’t skip the vinegar—it’s essential for the velvet texture.
- Avoid overbaking, as this can dry out your cake.
- Use room-temperature ingredients for seamless mixing.
- Add a teaspoon of espresso powder if you want to intensify the chocolate notes.
These small adjustments make a major difference in the final texture and taste.
Variations of the Classic Black Velvet Cake
You can take this recipe in many directions depending on the occasion.
Cupcake Version
Divide the batter into a cupcake tin and bake for about 15–18 minutes. Perfect for parties or events.
Layered Celebration Cake
Use three thinner layers instead of two for a more dramatic, tall presentation.
Black Velvet Bundt Cake
Add a bit of extra oil or sour cream to ensure moisture in the denser bundt pan.
Storage & Make-Ahead Instructions
You can absolutely make this cake ahead of time without sacrificing flavor or texture.
- Store the cake at room temperature for up to 2 days.
- Refrigerate for 5 days in an airtight container.
- Freeze unfrosted cake layers for up to 3 months (wrap tightly).
- Frosting can be prepared one day ahead and kept in the fridge.
When you’re ready to assemble, let everything come back to room temperature for the best texture.
Recipe Card: Classic Black Velvet Cake (Quick Reference)
Prep Time: 20 mins
Bake Time: 25–30 mins
Total Time: 50–55 mins
Yield: 12 slices
Difficulty: Easy–Medium
Ingredients
(See ingredient tables above.)
Instructions (Summary)
- Preheat oven to 350°F (175°C).
- Line and grease cake pans.
- Sift dry ingredients.
- Mix sugar, eggs, and oil.
- Add buttermilk, vanilla, and coloring.
- Fold in dry ingredients.
- Add vinegar; mix lightly.
- Divide batter and bake 25–30 minutes.
- Cool completely.
- Frost and decorate.
Frequently Asked Questions About Black Velvet Cake
What makes Black Velvet Cake different from Red Velvet Cake?
Black Velvet Cake uses black cocoa instead of the traditional red coloring, giving it a darker color and a deeper, smoother chocolate flavor.
Can you make Black Velvet Cake without black cocoa powder?
Yes, you can use regular cocoa powder and add black gel food coloring, though the flavor will be slightly different.
Why is vinegar used in Black Velvet Cake recipes?
Vinegar helps create the signature velvety crumb by reacting with baking soda and enhancing the cake’s lift and softness.
How do you keep a Black Velvet Cake moist?
Use oil instead of butter, avoid overbaking, and store the cake properly. Buttermilk also adds moisture.
Can you turn this Black Velvet Cake recipe into cupcakes?
Absolutely—just adjust the baking time to about 15–18 minutes.
Conclusion
Now that you’ve gone through every step of baking your own Black Velvet Cake, you’re ready to create a dessert that looks breathtaking and tastes even better. You’re not just following instructions—you’re learning a method that gives you control, confidence, and creativity in your kitchen.
Whether you’re baking for a celebration or simply treating yourself, this cake delivers elegance, comfort, and a little bit of magic.
There are no reviews yet. Be the first one to write one.